This post is part of the series 30 Days of Vue.
In this series, we're starting from the very basics and walk through everything you need to know to get started with Vue. If you've ever wanted to learn Vue, this is the place to start!

This post is part of the series 30 Days of Vue.
In this series, we're starting from the very basics and walk through everything you need to know to get started with Vue. If you've ever wanted to learn Vue, this is the place to start!
With the knowledge of the Flux pattern and Vuex, let's integrate Vuex onto a Vue application to build on top of the things we've learned using a simple global store.
In the article before last, we saw how a simple global store allows us to manage application state in a reasonable manner that mimics the Flux pattern. Today, we'll reimplement the same application using the most robust and widely-used, flux-like, state management library in Vue - Vuex.
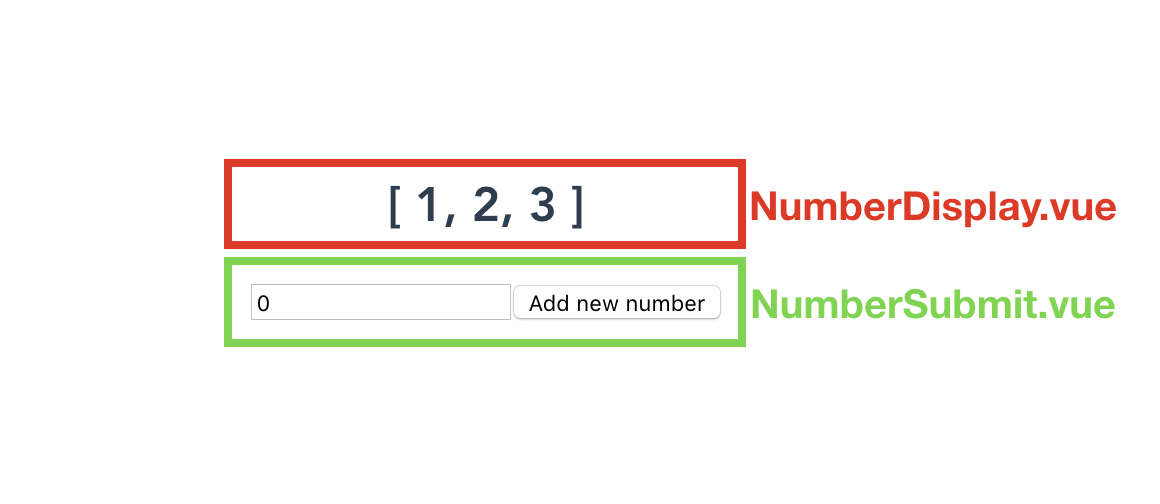
We'll look to build the same NumberDisplay and NumberSubmit component relationship that we've done before. As a refresher, we’ll want to build an implementation where an input is entered in a NumberSubmit component and that entered number is then shown in the template of a sibling NumberDisplay component.

Since Vuex is an external library, it needs to be explicitly introduced into an application.
npm install vuex --save
For module based Webpack Vue applications, global level functionality (i.e. plugins) like Vuex need to be called with the Vue.use() global method prior to its use. The following code and the rest of the Vuex store instantiation can be done in a src/store.js file.
import Vue from 'vue';
import Vuex from 'vuex';

Vue.use(Vuex);
The heart of a Vuex integration is the Vuex Store which can be created with the new Vuex.Store({}) constructor. We can create the constructor and assign it a const variable we'll call store. We'll export the store variable since we'll need to include it in the application Vue instance shortly.
import Vue from 'vue';
import Vuex from 'vuex';

Vue.use(Vuex);

export const store = new Vuex.Store({
  // store properties
});
The Vuex Store is made complete with 4 objects - state, mutations, actions, and getters.
State is simply an object that contains the data that needs to be shared within the application. We'll create a state object that only has a numbers array.
const state = {
  numbers: [1, 2, 3]
};
Mutations are functions responsible in directly mutating store state. In Vuex, mutations always have access to the store state as the first argument. In addition, actions may or may not pass in a payload as the second argument. We'll create an ADD_NUMBER mutation that expects a payload and pushes that payload to the state.numbers array.
const mutations = {
  ADD_NUMBER(state, payload) {
    state.numbers.push(payload);
  }
};
In Flux architectures, mutation functions are often characterized in capital letters to distinguish them from other functions and for tooling/linting purposes.
Actions exist to call mutations. Actions are also responsible for performing any or all asynchronous calls prior to committing to mutations. Actions have access to a context object that provides access to store state (with context.state), to store getters (with context.getters), and to the commit function (with context.commit).
Here’s an addNumber() action that simply directly commits to the ADD_NUMBER mutation while passing in the expected payload:
const actions = {
  addNumber(context, number) {
    context.commit("ADD_NUMBER", number);
  }
};
Getters are to a Vuex store what computed properties are to a Vue component. Getters are primarily used to perform some calculation/manipulation to store state before having that information accessible to components.
Like mutations, getters have access to state as the first argument. Here’s a getter called getNumbers that simply returns the state.numbers array:
const getters = {
  getNumbers(state) {
    return state.numbers;
  }
};
For such a simple implementation like the application we're building, a Vuex store may not really be necessary. We don’t necessarily need getters to directly return a state value and our action just simply commits to a mutation without any additional work. The examples above are meant to show the direct difference in implementation between using Vuex or a simple global store to handle application state.
With all the different store objects prepared, we can declare these objects within the new Vuex.Store({}) constructor to create our store instance. This makes our entire src/store.js file look like the following:
import Vue from "vue";
import Vuex from "vuex";

Vue.use(Vuex);

const state = {
  numbers: [1, 2, 3]
};

const mutations = {
  ADD_NUMBER(state, payload) {
    state.numbers.push(payload);
  }
};

const actions = {
  addNumber(context, number) {
    context.commit("ADD_NUMBER", number);
  }
};

const getters = {
  getNumbers(state) {
    return state.numbers;
  }
};

export default new Vuex.Store({
  state,
  mutations,
  actions,
  getters
});
Through the course, you may have noticed that we’re using ES6 property value shorthands to declare the values of properties in objects.
For example, the store instantiation above can be expressed as:
const store = new Vuex.Store({
  state: state,
  mutations: mutations,
  actions: actions,
  getters: getters
});
The ES6 property shorthand only works when the property value has the same name as the property identifier.
When a Vuex store is prepared, it’s only made available to a Vue application by declaring the store object within the Vue instance. We'll import the store instance into the src/main.js file and pass it into the application wide Vue instance.
import Vue from 'vue';
import App from './App.vue';
import store from "./store";

Vue.config.productionTip = false;

new Vue({
  render: h => h(App),
  store,
}).$mount('#app');
With a well built Vuex store, components often do one of two things. They either:
This page is a preview of 30 Days of Vue
Get the rest of this chapter and 330+ pages of Vue instruction for free.
The entire source code for this tutorial series can be found in the GitHub repo, which includes all the styles and code samples.
If at any point you feel stuck, have further questions, feel free to reach out to us by: