Add Drawer Navigation to a React Native App
Creating a drawer menu
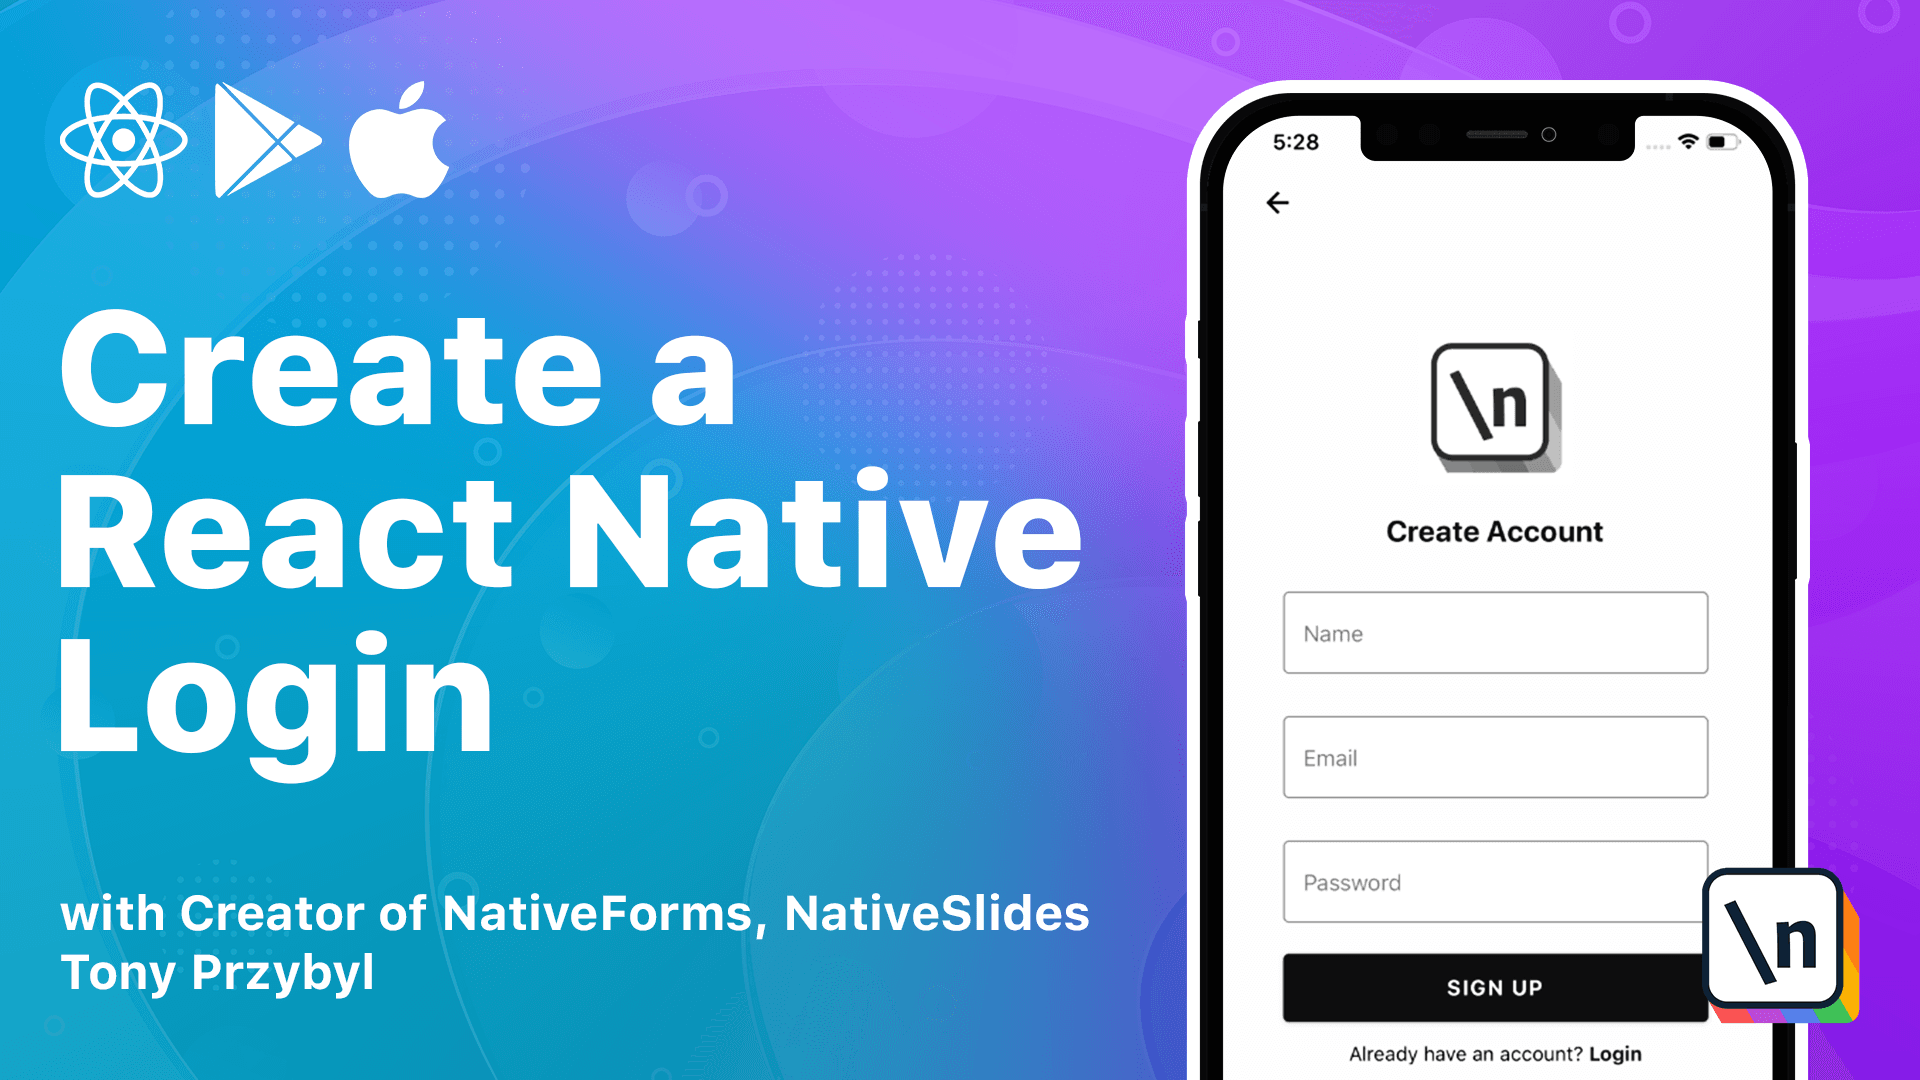
This lesson preview is part of the Creating a React Native Login course and can be unlocked immediately with a \newline Pro subscription or a single-time purchase. Already have access to this course? Log in here.
Get unlimited access to Creating a React Native Login, plus 90+ \newline books, guides and courses with the \newline Pro subscription.
[00:00 - 00:05] In this lesson, we are going to add a drawer menu to our app. It looks like this.
[00:06 - 00:21] Similarly to the bottom navigation, when it comes to drawer menus, there are many libraries that work well. But as we already are using Re-ignavigation library, there is a Re-ignavigation drawer dependency that creates the drawer menu for us.
[00:22 - 00:29] We are going to follow the official documentation that guides us step by step through the process. The first step is installing the dependency.
[00:30 - 00:36] We do that by running the following comment. After the installation is done, we can start the implementation.
[00:37 - 00:45] We start from the objects file where our navigation is implemented. In the example, we can see that drawer is very similar to start navigator.
[00:46 - 00:56] It contains all the screens that can be used inside it. Our case is a little bit trickier because we already have bottom navigation that contains two screens.
[00:57 - 01:10] What we want to do is to place bottom navigation inside the drawer and treat it as any other screen. Let's import CreateDrawerNavigator from Re-ignavigationDrawer and define our drawer navigator.
[01:11 - 01:22] Now we create a drawer navigator function that will return drawer navigator. In our case, we'll have one screen inside the drawer which is our bottom navigation.
[01:23 - 01:31] The last step is to actually use the drawer navigator as one of our screens inside navigator. We want to replace home screen with it.
[01:32 - 01:42] Now we render the bottom navigator component but we can safely replace it with a drawer navigator because it contains bottom navigator. Let's run our app.
[01:43 - 01:47] If we swipe from the left to right, our menu will appear. Perfect.
[01:48 - 01:54] Currently, there is not much going on there. But it will be cool if we could take control over what is displayed.
[01:55 - 02:05] Luckily for us, there is a prop called drawer content that allows us to pass any component we want. Let's create a component called drawer content.
[02:06 - 02:11] For now, let's return some text. We can now pass this component with drawer content prop.
[02:12 - 02:17] As we can see, our text is there on the top left side of the screen. Excellent.
[02:18 - 02:31] Of course, this is not the best looking menu you have ever seen but for the purpose of this course, I improved the drawer content component to look like this. It uses basic components from Reiignative and Reiignative paper.
[02:32 - 02:40] Now our menu looks like something that might be seen in real applications. You can add more options to it once your app starts growing.
[02:41 - 02:47] For now, this is enough. To sum up, in this lesson, we added the drawer menu to our app.
[02:48 - 02:53] And our app is now complete. We have created all the screens we had in our plan.
[02:54 - 03:01] Now, it's your turn to take this up to another level and implement something that will be used in real world. Good luck.
[03:02 - 03:04] Thank you and see you in the next courses.